CLICK HERE FOR FREE BLOG LAYOUTS, LINK BUTTONS AND MORE! »

Links Inside Posts

I just wanted to let you know that there are links to websites or pics inside the posts. It will be the pink colored words inside the post. That way you don't miss the links to click on as well. have fun reading.

Tuesday, August 17, 2010

I've come up with the one--Crystal

I think I have figured out the quilt I would like to do for my house. I want to make a wall hanging with our family name on it. I'll probably have to design it myself, but I'm looking for some ideas online. I might even make it a mystery quilt for the BOM. I thought that would be intersting. If you'd be interested in something like this let me know. I'm going to start on it after I get the design part done and find the colors I like for my hosue. My colors will probably be red, black or brown, and one other color to match that (haven't figured out which yet, maybe a sage green). I'm probably going to use some ribbon on it and the name will be appliqued.

Are you interested in doing this with me??

Thursday, August 12, 2010

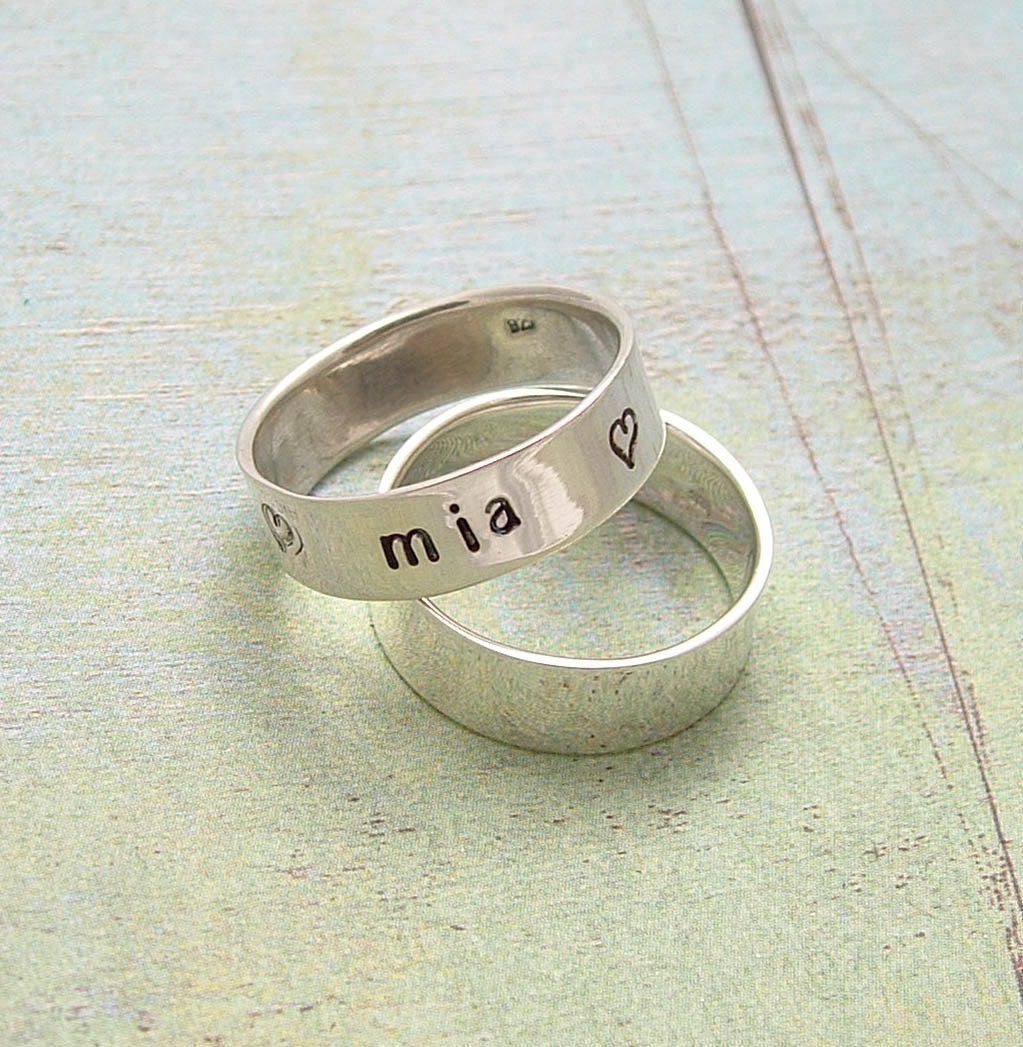
Giveaway--Lil bit of us

Lil bit of us is doing a giveaway on her blog through Tiny Token Designs. Check out the blog. Check out the etsy shop too.

Here's the blog button:


Photobucket


My favorite item in the shop is the ring of love.

Check them out.

Tuesday, August 10, 2010

Block of the Month (BOM)--Crystal

I want to start a quilt BOM group. First I will need quilters, second I will need quilt block ideas, and third I will need time to sew. If you aren't a quilter, that's alright, you should still be able to get started. I then want to get my done by next July so that I can enter it into the fair. I hope that I can get started. Let me know if you'd be interested in joining my group and if you have any quilt block ideas to share.


This one is my favorite so far. There are others I like too. This one I would to do for my daugthers room, she would love it. Very cute.


Tuesday, July 13, 2010

Blog Giveaway

Here is the link to the recent blog giveaway I entered.
Katie's Nesting Spot

Friday, July 2, 2010

4th of July Star--Crystal

Update: I have finally finshed this craft. I cut out some stars with my Cricut and added star buttons to the middle star and around the ribbons. Pic coming soon. I will also be entering it into the fair this week. Keep your fingers crossed.
Guess what? I won a blue ribbon at the fair. It did help that I was the only one in the category, but I did win.
Here is the door decoration I made for 4th of July. It's made out of wire and ribbon.
Here is my inspiration @ Oopsey Daisy.
My daughter took this one.


I used pinking shears to cut the ribbon for a decorative edge and less freying.
I just tied the ribbon onto the wire after bending the wire into a star shape.

It's almost done. I need to glue on some star buttons when I get some glue at the store.
Cute huh!
Here it is hanging on my door.

Linking here:


Friday, June 18, 2010

Duck Tape Wallet--Crystal


Here is the duck tape wallet my daughter made together for Father's Day.


I will update the tutorial for it later. I am a little busy and this blog is being kind of slow today.


Father's Day Card--Crystal

Here is the Father's Day Card I made for my husband this year.


Cut your card paper: 5 1/2 x 8 1/2


Fold in half:


Cut your contrast paper to: 3x5


Glue to the top of the card:


I used letters from a cardstock that had pop out letters (you could also use some chipboard or make your own letters using a cricut or diecut machine). Spell "Dad". Ink the sides with stamp ink. Glue to the top of card:


Grab your crop-a-dile and make holes for eyelets:


Stamp "i love u" on the top:


Thursday, May 27, 2010

Another Blog

Check out the following blog. Some cute stuff here.
They are also having a giveaway for a Chilli's Gift Card.


Photobucket

Check out this blog.

This blog has some very cute stuff. Check it out.


a little etsy love

Sunday, April 11, 2010

Card Project--Crystal


I used my Cricut to do my first card project. I made a Thank You card. It was actually pretty easy to make. I used my Cricut Cartiridge Don Jaun to cut out the word Thanks at 2" in pink and the shadow of Thanks at 2" in green. I then cut the ribbon at 3" in yellow. I cut the blue paper at 5 1/2 x 5 1/2 and rounded the corners. I cut the yellow paper at 6 1/2 x 6 1/2 and rounded the corners. I cut 3 green strips 6 1/2 x 1 1/2 and one green strip 3 1/2 x 1/4. I then stamped black butterflies onto the blue square and black flowers onto the yellow square. On the small green strips use a black marker to make dash marks along the whole strip.

I layered the piece: Yellow square, longer green strip on the bottom of the yellow square, blue square, the shorter green strips on the top left corner of the blue square, green thanks on the bottom of the blue, pink thanks on top of the green, and the yellow ribbon on top.

I then stamped two black butterflies onto pink paper and cut them out. I cupped them to have the wings stand out. I glued two of the wings together of the butterflies and placed them on the ends of the green strips. I attached each of them with a pink brad. I then glued down some star confetti at the bottom of the the card, underneath the thanks.


As I was looking at it just now, I realized I forgot to chalk the edge of the blue and yellow squares with the black ink. I would suggest it for next time.