CLICK HERE FOR FREE BLOG LAYOUTS, LINK BUTTONS AND MORE! »

Links Inside Posts

I just wanted to let you know that there are links to websites or pics inside the posts. It will be the pink colored words inside the post. That way you don't miss the links to click on as well. have fun reading.

Monday, March 12, 2012

St. Patrick's Day Treat

Making cake balls for our St. Patrick's Day treat at the daycare. I'm going to try my own recipe.

Ingrediants:
One package of Mint Oreos
One can of Cream Cheese Frosting
One package of chocolate melting wafers (green) (mint, vanilla, or chocolate flavor)

Smash the whole package of Mint Oreos. Mix together with the can of frosting. Roll into balls and place onto cookie sheet lined with wax paper. Place into freezer for about 30 mins or more to make firm. Once firm, melt chocolate wafers in the microwave 30 secs at a time, stirring in between times. Dip balls into chocolate and place back onto cookie sheet with wax paper. Place back into freezer to firm up chocolate.

Pictures to come once made.

Tuesday, January 4, 2011

MPS Challenge- 2 page scrapbook-- Crystal

There are 2 openings for the upcoming 2011 My Pink Stamper Design Team! It would be so cool to be a part of this team. Here is my submission for the challenge! Check out her blog over at http://www.mypinkstamper.com/. Click here for the challenge.


Requirements:
Pink
Green
Brown
(other optional color of your choice) I chose white.


Recipe:
1) two 12x12 green cardstock for scrapbook page
2) Cut four strips of brown cardstock. Two at 1/2 x 12, two at 1/4 x 12 left page: on the left edge place 1/4" from edge vertically the 1/2" strip and place 1/8" from the first strip the 1/4" strip. right page: do the same on the right page but do this on the right side of the page.
3) 3x12 pink cardstock placed in the middle of the page
4) 13" white ribbon wrapped around the pink cardstock
5) Using white cardstock cut the following size rectangles: 5 1/2 x 7 1/2, 4 x 5 1/2, 4 1/2 x 5 1/2, 3 x 6 1/2, and 5 x 6. Tear all the edges of the cardstock of each rectangle. Ink the edges of the torn paper using a pink stamp pad. Place in appropriate spot according to picture.
6) cut a 5" birthday cake using the Cricut from the cartridge Sweet Treats and place on the right/middle of  the page. I used pop dots to add the cake to the page. Make it Pop!!
7) Add clear or colored glitter glue to the candle flame and cake dots. Add some shine!
8) Cut out of white cardstock a square 2 1/2 x 2 1/2 (depending on the size of yoru stamp it may need to be a different size). Tear the edges and ink with pink stamp as before.
9) I used the stamp Make a Wish from "perfectly clear stamps". Stamp onto the square piece of white cardstock.
10) Add clear rhinestones randomly, I even added some to the cake.
11) Add balloon and streamer stickers randomly.

Side Note: You can add pictures and journaling to the white cardstock areas. (This is a gift for a family member so it's blank for now).


To cut the birthday cake from your Cricut:
1) Use white cardstock for the Cake base (cake4) at 5"
2) Use pink cardstock for the candle base (cake4-s) at 5"
3) Use green cardstock happy birthday (cake4 layers) at 5"
4) Use pink cardstock for the cake dots (cake4-s layers) at 5"
5) Use yellow cardstock for the candle flame (cake4-s) at 5"
6) Use confetti vellum to cut cake base overlay (cake4) at 5"
7) Attach all pieces together.


I really hope you enjoyed the project. I think it's very cute.

Saturday, December 11, 2010

Blog Giveaway!

Check out the blog Getting Cricky with K Andrew. Tutorials and Giveaways.

#1--Check this blog out for a cool giveaway they are doing. I want to win so bad. I haven't won anything on a giveawy yet, maybe this is the one.


#2--They are also giving away another cool item for my Cricut. I really need to win something. Check it out here.


Saturday, October 30, 2010

Halloween Costume

Kenna's costume was a pumpkin princess this year. She looked so cute. I will post pics soon as well as a short tutorial.

Tuesday, August 17, 2010

I've come up with the one--Crystal

I think I have figured out the quilt I would like to do for my house. I want to make a wall hanging with our family name on it. I'll probably have to design it myself, but I'm looking for some ideas online. I might even make it a mystery quilt for the BOM. I thought that would be intersting. If you'd be interested in something like this let me know. I'm going to start on it after I get the design part done and find the colors I like for my hosue. My colors will probably be red, black or brown, and one other color to match that (haven't figured out which yet, maybe a sage green). I'm probably going to use some ribbon on it and the name will be appliqued.

Are you interested in doing this with me??

Thursday, August 12, 2010

Giveaway--Lil bit of us

Lil bit of us is doing a giveaway on her blog through Tiny Token Designs. Check out the blog. Check out the etsy shop too.

Here's the blog button:


Photobucket


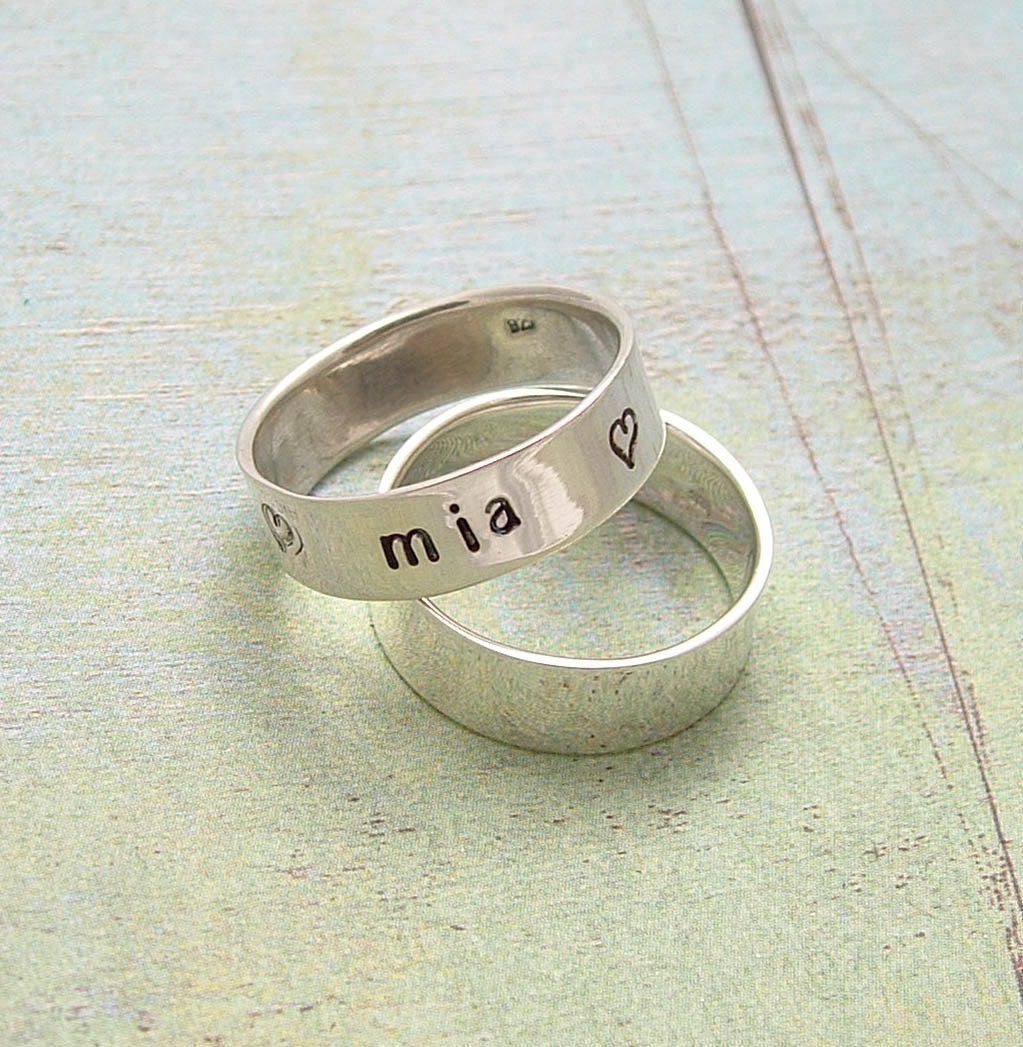
My favorite item in the shop is the ring of love.

Check them out.

Tuesday, August 10, 2010

Block of the Month (BOM)--Crystal

I want to start a quilt BOM group. First I will need quilters, second I will need quilt block ideas, and third I will need time to sew. If you aren't a quilter, that's alright, you should still be able to get started. I then want to get my done by next July so that I can enter it into the fair. I hope that I can get started. Let me know if you'd be interested in joining my group and if you have any quilt block ideas to share.


This one is my favorite so far. There are others I like too. This one I would to do for my daugthers room, she would love it. Very cute.


Tuesday, July 13, 2010

Blog Giveaway

Here is the link to the recent blog giveaway I entered.
Katie's Nesting Spot

Friday, July 2, 2010

4th of July Star--Crystal

Update: I have finally finshed this craft. I cut out some stars with my Cricut and added star buttons to the middle star and around the ribbons. Pic coming soon. I will also be entering it into the fair this week. Keep your fingers crossed.
Guess what? I won a blue ribbon at the fair. It did help that I was the only one in the category, but I did win.
Here is the door decoration I made for 4th of July. It's made out of wire and ribbon.
Here is my inspiration @ Oopsey Daisy.
My daughter took this one.


I used pinking shears to cut the ribbon for a decorative edge and less freying.
I just tied the ribbon onto the wire after bending the wire into a star shape.

It's almost done. I need to glue on some star buttons when I get some glue at the store.
Cute huh!
Here it is hanging on my door.

Linking here:


Friday, June 18, 2010

Duck Tape Wallet--Crystal


Here is the duck tape wallet my daughter made together for Father's Day.


I will update the tutorial for it later. I am a little busy and this blog is being kind of slow today.